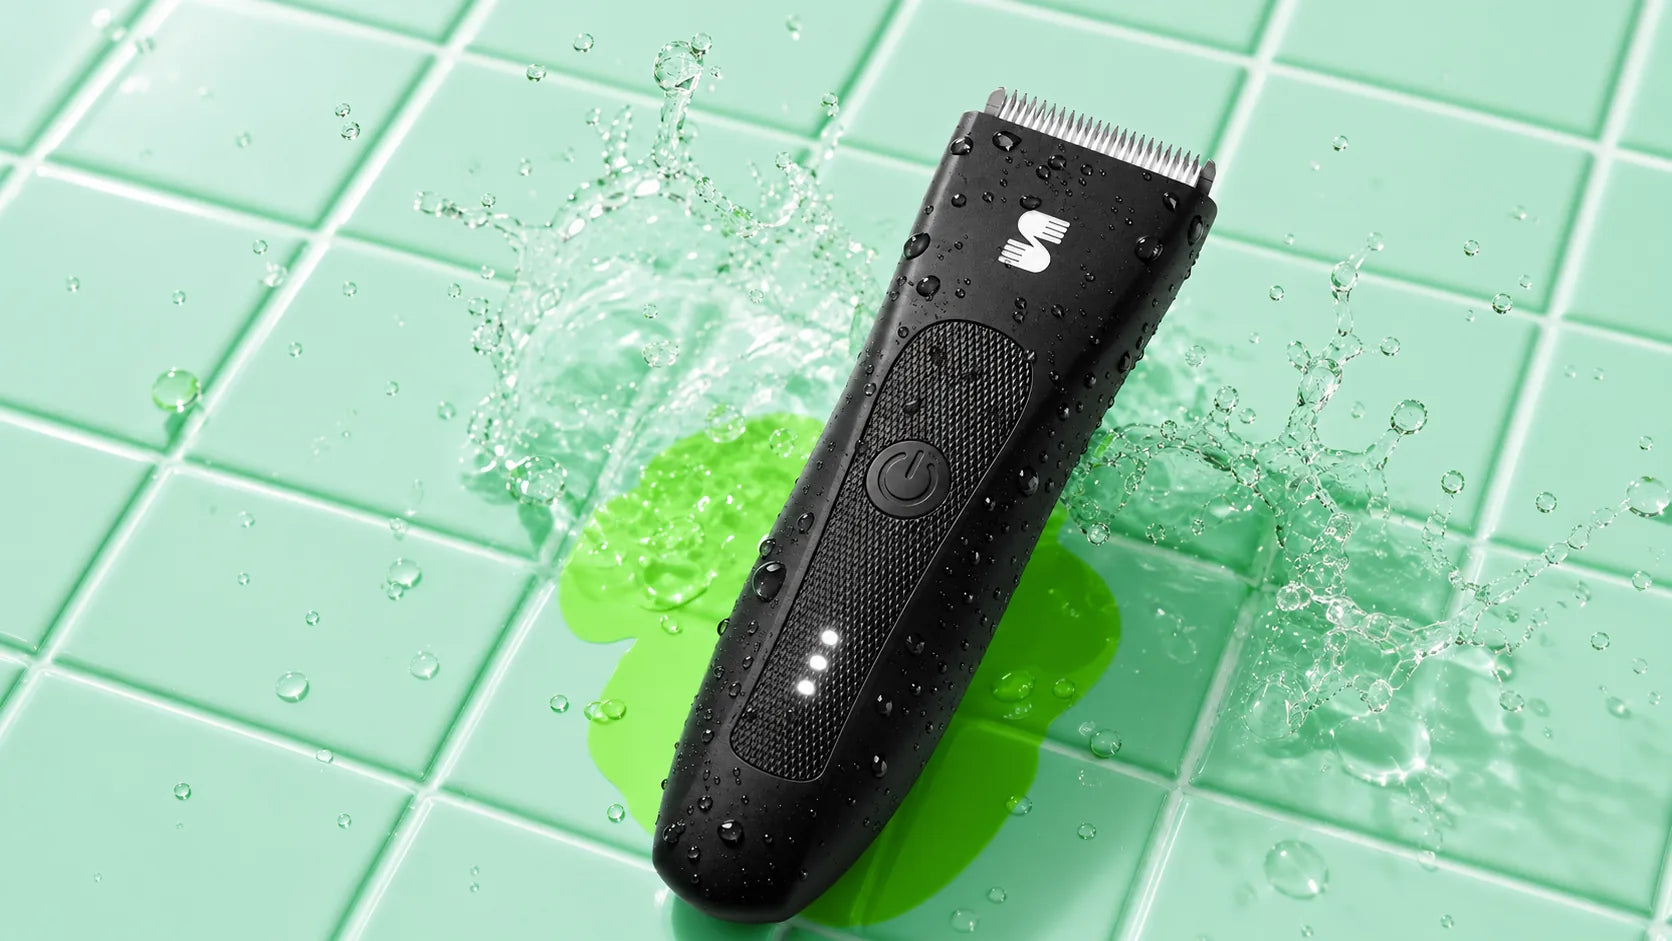
A body trimmer is most useful when you want to shorten and manage hair below the neck without necessarily removing it at skin level. A practical routine starts with clean, dry skin, the right guard length, and a clear order for moving across the body. Begin with a longer setting, trim slowly against or across the direction of growth, and adjust your technique for curved or sensitive areas. Afterward, remove loose hair, clean the tool as directed, and check the skin before making another pass. Stop if the trimmer pulls, becomes unusually hot, or causes persistent discomfort.
Preparation
Decide what result you want before switching on the trimmer. You may want to reduce bulk on the chest, keep the stomach tidy, shorten leg hair evenly, or create a more consistent appearance across several areas.
Do not assume that every area needs the same length. Chest hair may look natural at a medium setting, while hair on the stomach or shoulders may need a shorter guard to create a balanced transition. Starting longer gives you room to make adjustments without removing more hair than intended.
Read the device instructions before use, especially if you are unfamiliar with its guards, cleaning method, or wet-use limitations. A trimmer labeled washable may allow the head to be rinsed, but that does not automatically mean the entire device can be used in a shower.
Prepare the area by removing sweat, skin products, and heavy oils. Dry hair generally stands more consistently and is easier to guide into a trimming head unless the manufacturer specifically recommends wet trimming.
Good lighting also matters. It helps you notice uneven patches, follow the direction of growth, and avoid repeatedly passing over the same area.
Tool Setup
Choose a guard based on the amount of hair you want to leave rather than the amount you want to remove. For an unfamiliar tool or a first full-body session, begin with one of the longer available guards and test it on a small, less visible section.
Make sure the guard is firmly attached. A loose attachment may shift during use and produce an uneven result. Run a finger along the edges to confirm that it is seated correctly and does not have cracks or bent teeth.
Check that the blade is clean and free of trapped hair. Buildup can reduce cutting efficiency and may cause pulling. Charge the trimmer sufficiently before starting so that the motor does not slow midway through the routine.
Hold the tool in your hand before placing it against the skin. Identify the cutting edge, the recommended trimming angle, and the position of the power switch. This simple check prevents you from rotating the device awkwardly when working around the sides of the torso or the backs of the legs.
Step-by-Step Trimming Routine
Begin with a section that is easy to see and control, such as the upper chest or front of one thigh. Place the guard flat against the skin and move the trimmer with steady, overlapping strokes. Avoid pressing hard, since pressure does not necessarily make the tool cut faster and may reduce the guard’s ability to maintain a consistent length.
Work through one defined area at a time. For example, complete the chest before moving to the stomach, then trim one leg before starting the other. This makes it easier to compare both sides and reduces the chance of leaving isolated patches.
Your first pass should remove the main volume. Move against the direction of hair growth where comfortable, because this usually helps the guard lift and capture the hair. Where hair grows in several directions, use shorter passes from different angles instead of repeatedly scraping the same path.
Pause after each area and brush away loose hair. Check the result from more than one angle and under direct light. If the length is still too long, change to the next shorter guard rather than making many passes with the same setting.
A body hair trimmer for men can support this kind of controlled length management across several below-the-neck areas, but the final result still depends on guard selection, steady handling, and adjustments for different hair-growth patterns.
When moving to a shorter setting, test it on a small section first. A difference that appears minor on the guard can look more noticeable once a large area has been trimmed.
Finish with a light detail pass only where needed. The goal is even coverage, not repeatedly running the blade over every section until no visible hair remains.
Adjustments for Different Body Areas
The chest is relatively broad, but its surface is not completely flat. Use longer strokes across open areas and shorter strokes around the collarbone, nipples, and edges of the rib cage. Stretching the skin gently with your free hand may help the guard maintain contact over curves.
On the stomach, hair direction often changes around the navel and along the center line. Slow down and approach these sections from more than one direction. Do not force the trimmer into the navel or other recessed areas.
Legs usually allow longer strokes, especially across the thighs and shins. However, knees and ankles require more control because the skin surface changes quickly. Bend the joint slightly, use short passes, and avoid pressing the cutting head directly into prominent bone.
For shoulders, upper arms, and the sides of the torso, use a mirror or work in a well-lit space where you can check your angle. Trying to reach too far can tilt the guard and create shorter patches. Reposition your body instead of twisting the tool into an unstable grip.
Areas with looser skin or limited visibility require a more conservative approach. Use an appropriate guard, keep the skin as flat as comfortably possible, and follow the device manufacturer’s instructions about where the trimmer is designed to be used. If control feels uncertain, stop and reassess rather than continuing by touch alone.
Cleanup and Maintenance
Brush loose hair from the trimmed areas before showering. This prevents cut hairs from sticking to damp skin and makes it easier to inspect the result.
Clean the trimmer according to its instructions. Some removable heads can be rinsed, while other blades should only be brushed or wiped. Never immerse the handle or charging components unless the device is specifically designed for that level of water exposure.
Remove the guard and clear hair from both sides. Hair trapped beneath an attachment can affect how securely it fits during the next session. Allow rinsed parts to dry fully before reassembling or storing them.
Some trimmers require occasional blade lubrication. Use only the type and amount recommended by the manufacturer. Excess oil can attract debris, while operating a blade that requires lubrication without it may increase friction.
Store the tool in a dry location with its attachments organized. A guard that becomes bent or damaged should be replaced rather than used for an important trimming session.
Mistakes That Lead to Uneven Results
Starting with the shortest guard is one of the most common avoidable errors. It removes your ability to gradually adjust the length and can make differences between body areas more obvious.
Rushing through long or dense hair can also produce patchy results. If the trimmer struggles, use slower passes, clear the blade, or reduce the hair in stages. Do not keep forcing a clogged head through the same section.
Another mistake is using the same pressure and stroke length everywhere. Broad areas can tolerate longer movements, while curves, joints, and areas with changing hair direction require shorter, controlled passes.
Repeatedly trimming irritated skin is unlikely to improve the appearance. Stop if you notice pulling, sharp discomfort, unusual heat, broken skin, or irritation that continues to increase. Check the blade, guard, technique, and device instructions before deciding whether to continue later.
Avoid trimming over raised spots, cuts, or areas you cannot clearly see. When you are uncertain about a skin change or persistent reaction, leave the area alone and seek appropriate professional guidance rather than attempting to trim through it.
Choosing a Repeatable Routine
A useful body-trimming routine is based on control rather than maximum hair removal. Prepare the skin, begin with a longer guard, work through the body in a consistent order, and adjust your technique for each area.
Keep a note of the guard lengths that worked well on the chest, stomach, legs, and other areas. This makes future sessions faster and reduces unnecessary experimentation.
The right stopping point is when the hair looks even and matches the length you intended. More passes are not automatically better. Careful setup, steady technique, and proper cleaning usually matter more than trying to complete the routine as quickly as possible.